IAM Management
Use the IAM Admin Service to configure IAM, register applications and resource providers.
Log in
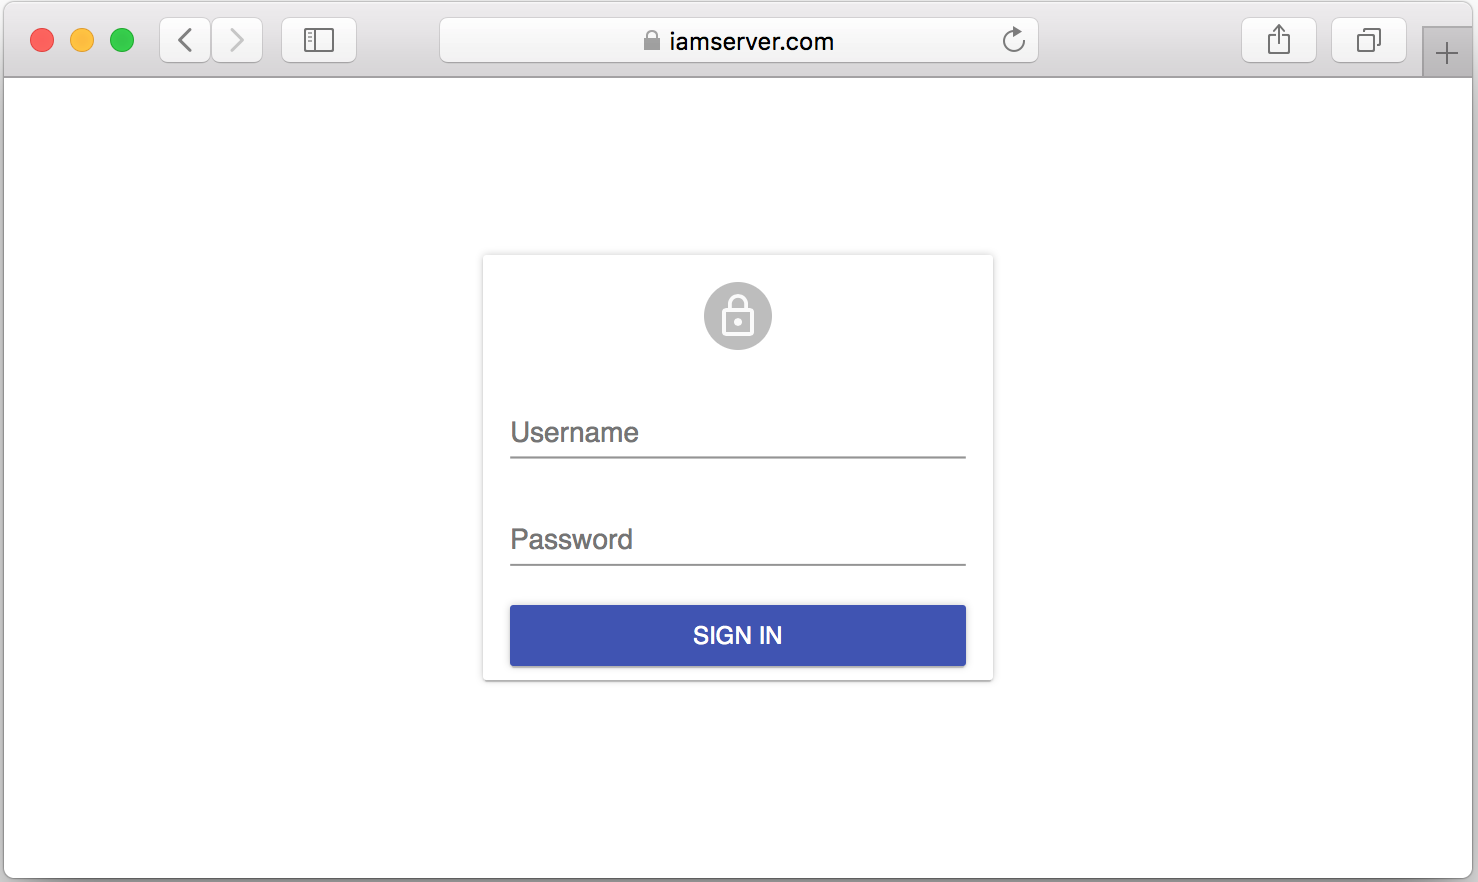
Access IAM Admin service at the port you configured in the setup process. The default service port is 8443.
IAM Setup:

About to config Address Settings.
? IAM service's host(leave as '[default]' to accept the request from all network interfaces):
? IAM service's port: 443
? ADMIN service's host(leave as '[default]' to accept the request from all network interfaces):
? ADMIN service's port: 8443

Following configuration have been input for Address Settings --

IAM service's host - [default]
IAM service's port - 443
ADMIN service's host - [default]
ADMIN service's port - 8443

? Confirm? Yes
For example, if you configured the admin service port at 8443, then you can access
the admin server at https://{ADMIN service's host}:8443
Input the username/password you configured at IAM setup to login Admin server. The
default IAM admin username is admin.
IAM Setup:

? IAM Admin username: admin
? Enter IAM Admin password: [hidden]
? Enter IAM Admin password again: [hidden]
Admin password is set successfully

Configure IDP (Identity Provider)
In order to authenticate users to serve your applications, you must configure IAM integration with your IDP. All user credentials are managed by your IDP. Currently IAM supports two kinds of IDPs:
- Domino LDAP: IAM supports using Domino through LDAP as IDP, which means you can configure IAM to use user information in the Domino directory to log in to IAM.
- Microsoft Active Directory: IAM supports using Active Directory through LDAP as IDP.
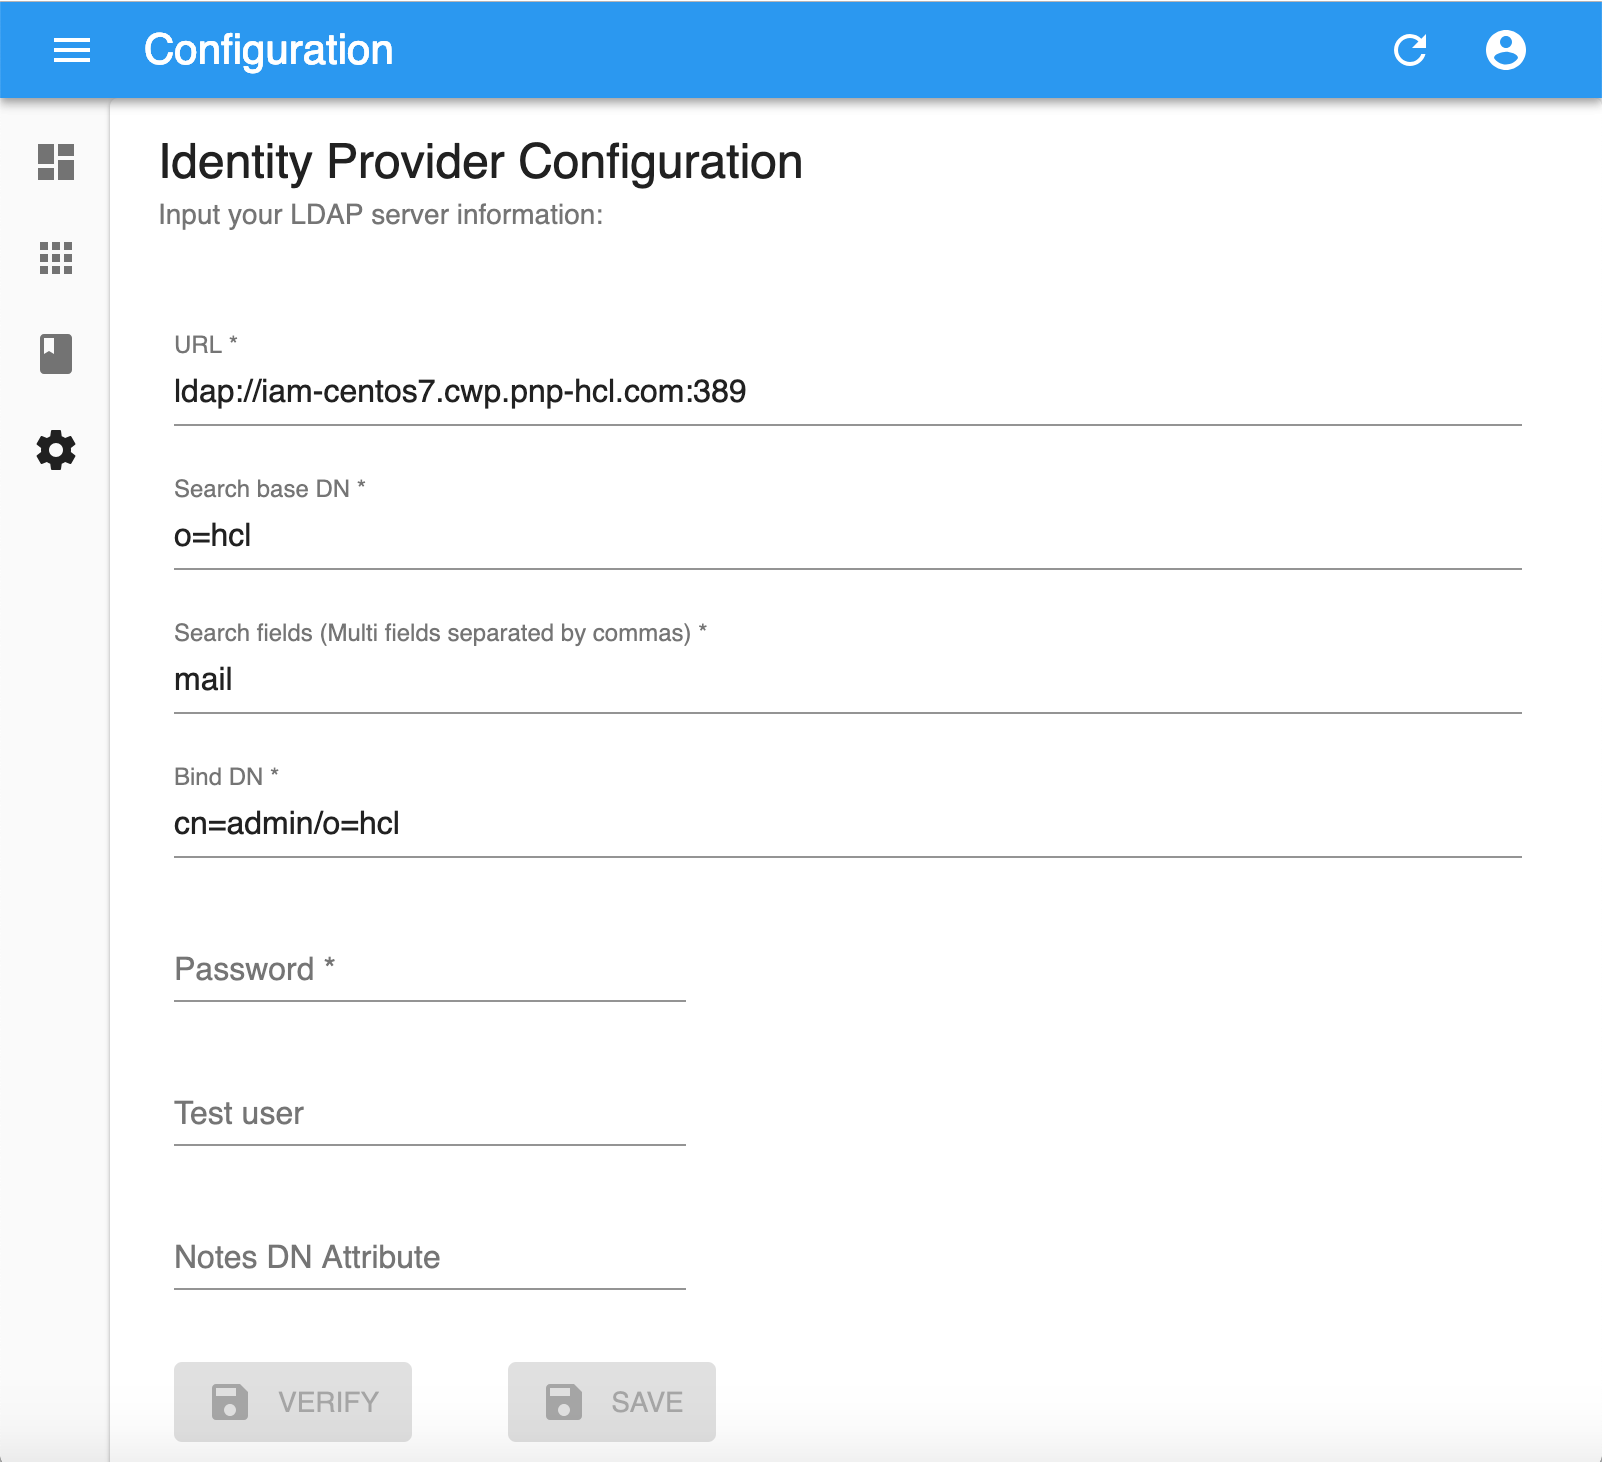
To configure the IDP, click Configuration in the left panel or click the
Configure LDAP button in the Dashboard.
Note:
- For details, see LDAP Configuration.
- If your LDAPS server's certificate isn't issued by a well-known CA, please put the CA certificate into the IAM trust store before launching IAM server. See trust store section of IAM Configuration.
| Field | Description | Example |
|---|---|---|
| URL | The URL of the LDAP server, including the full qualified DNS name and the port. You can skip the port part if LDAP server uses the default port(389 for ldap, 636 for ldaps) | ldaps://domino.server:636 |
| Base DN | The base DN from which to search for the provided user credentials | o=myorg |
| Search Fields | The field to search for the provided user credentials | |
| Bind DN | The DN to bind to for performing ldapsearch | cn=ldapAdmin,dc=company,dc=com |
| Password | The password for the LDAP Bind DN | |
| Test user | Used for LDAP verification. Input an existing user in LDAP directory | testuser@myorg.com |
| Notes DN Attribute | Optional. Only used when using Active Directory as IDP,and Directory assistance is configured on Domino to look up user information in Active Directory. | description |

Verify the settings by searching for a user. Input an existing user in the
Test User field and click the VERIFY button. The Admin service tries to connect
to the LDAP server and find the test user in the LDAP directory. If verification
succeeds, click the SAVE button to save the configuration settings.
Note: Restart the IAM server for the new settings to take effect.
Manage applications
You can manage applications from Application menu from the left panel, or by
clicking Manage Applications button on the Dashboard.

Register Application
Register an application to enable it to use IAM.
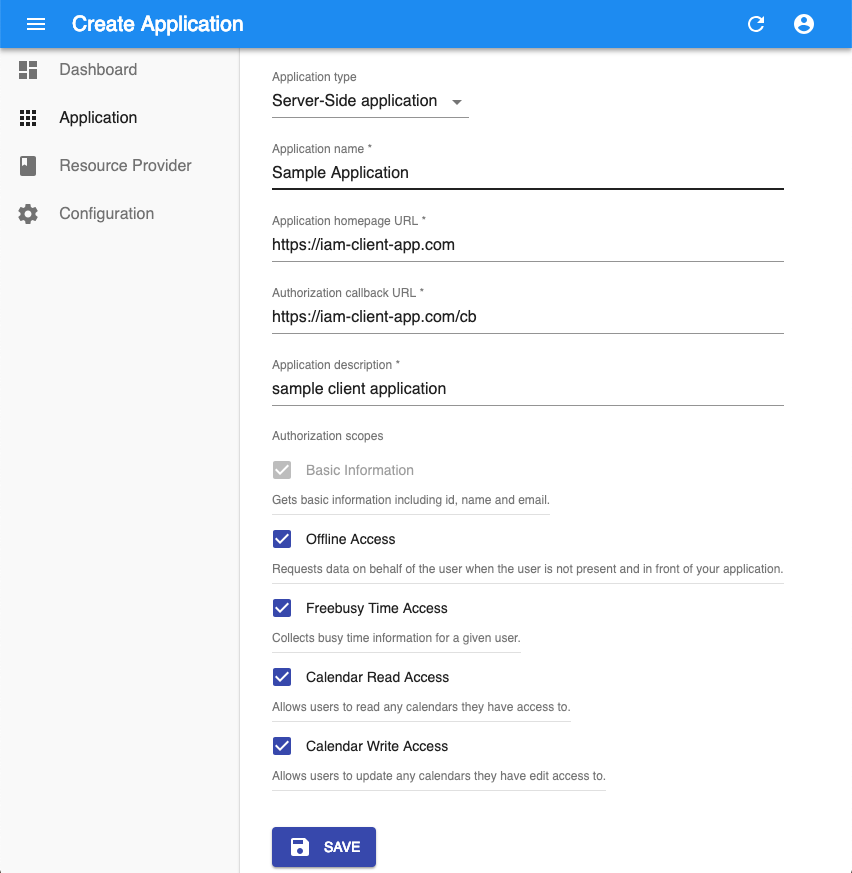
Click the CREATE button to register a new client application.
| Field | Description | Example |
|---|---|---|
| Application type | Server-side application or Single-page application | |
| Application name | Name of application, will be displayed in the IAM login page for this application | |
| Application homepage URL | URL to application homepage | https://client.app |
| Authorization callback URL | Application's callback url | https://client.app/cb |
| Application description | A short description of application | |
| Authorization Scopes | The scopes the application want to access |

How to choose your application type
- Server-side application : Server-side application runs on a web server where
the source code of the application is not available to the public, so they can
maintain the confidentiality of their client secret.
Hint: This is the most common application in OAuth2 world. Both the 'Authorization code flow' and 'Client credential flow' are available for Server-side application.
- Single-page application : Single-page application is HTML and javascript
based application which is running entirely in Web browser. So it cannot keep
the confidentiality of client secret.
Hint: Single-page application only supports OAuth 2.0 'implicit flow'.
How to select scopes for application
For the detailed description of supported scopes in IAM, see Supported Scopes.
A short description of the scopes you selected will be displayed in user login page to help the user identify the permissions he is granting to your application. Please only select the scopes needed by your application.
View Application Settings
Click the SHOW button in the Application list to see application details.
Note: you can find
application id(client_id) andapplication secret(client_secret) in Application detail page.
Update Application Settings
Click the EDIT button in the Application list to update application.
You can change the application name, application description, and scopes.
Note: When you update the scopes, if a scope is eliminated, the issued access token and refresh tokens with old scopes will be considered as invalid. Current users will be prompted to obtain user consent for the updated scopes.
Delete Application
To delete an application, click EDIT button in Application list, then click
the Delete button in the right corner.
Revoke Application's Secret
The client application is expected to keep application secret(client_secret) private. If the application secret is leaked, IAM admin can revoke the application secret from the Admin server.
To revoke the secret, click the EDIT button in the Application list, then click the
REVOKE SECRET button the in right corner.
Note: After the secret is revoked successfully, the client application needs to update the saved secret with a new one.
Manage Resource Provider
The resource provider is a service that provides resources. To use the resources
in Domino (e.g. use the DAS APIs to access mail data, calendar data and freebusy data),
you need to register Domino server as the Resource Provider in IAM. The Resource
Provider's Resource provider id and Resource provider secret will be used in
OAuth DSAPI Extension setup process. See OAuth DSAPI Extension
for more detail.
You can manage the Resource Providers from Resource Provider menu from the left panel,
or by clicking Manage Resource Provider button on the Dashboard.

Register Resource Provider
Register a resource provider that can validate the accessToken IAM passed to it, and provide the resource data back to the client if the accessToken is valid.
Click the CREATE button to register a new resource provider.
| Field | Description |
|---|---|
| Resource Provider name | Name of resource provider |
| Resource Provider description | A short description of the resource provider |

View Resource Provider Settings
Click the SHOW button in Resource Provider list to see the details info.
Note: you can find
Resource Provider id(client_id) andResource Provider secret(client_secret) in the detail page.The
Resource Provider idandResource Provider secretneed be used in the guide of OAuth DSAPI Extension.
Update Resource Provider Settings
Click the EDIT button in the Resource Provider list to update a concrete
resource provider. You only can change the resource provider name and
description.
Delete Resource Provider
To delete a resource provider, click SHOW or EDIT button in the Resource
Provider list, then click the Delete button in the right corner.
Revoke Resource Provider's Secret
Resource provider is same like the Client application, it also expects to keep its secret(client_secret) private. If the secret is leaked, IAM admin can revoke the secret from the Admin server.
To revoke the secret, click the SHOW or EDIT button in the Application list,
then click the REVOKE SECRET button in the right corner.
Note: After the secret is revoked successfully, the new secret need be used to replace the old one in the resource server.